Sunday, January 29, 2012

It's better to be down here wishing you were up there, than up there wishing you were down here.

And so goes week 2 of our Lazair project. Gabe and I had planned to look at a trailer/portable hanger this weekend, and do some RC trainer development. (more on that later) Instead we got a call from Dale Kramer on Friday night, and he flew in from Texas on Saturday. He's going to be here for a week or two working on some motor and controller advancements, and he lent us a hand on the plane Saturday evening and Sunday.


Dale really jump-started our progress. We stripped the fuselage and removed the rest of the parts requiring service or upgrade. We're up-sizing the control rods, and adding strength to a few other places, to accommodate the extra weight of the electric drive train, and a couple of plus sized pilots.


This was the fuselage when we wrapped up Saturday night. You can see two cardboard boxes by the garage door slowly filling up with parts. It is almost always more work to fix something right, than it is to build it from scratch.


We also constructed some plywood cradles for the wings, which serve as both a nice storage solution, and a necessary work platform.


The cradles allowed us to start ripping in to the wings, and pulling the ribs. We need to check each rib, and reinforce or repair them as needed. We'll also be making a few modifications to the structure of the wings before we recover them.


As I get a better feel for the assembly and design of the Lazair, my confidence in the aircraft is rapidly increasing.


This really is an incredible little aircraft, and the tear down and build up will give a level of familiarity few pilots have with their machine.

Next we need to open the leading edge of the wing, and check the foam ribs within. We may need to add some extra epoxy or make a few repairs.


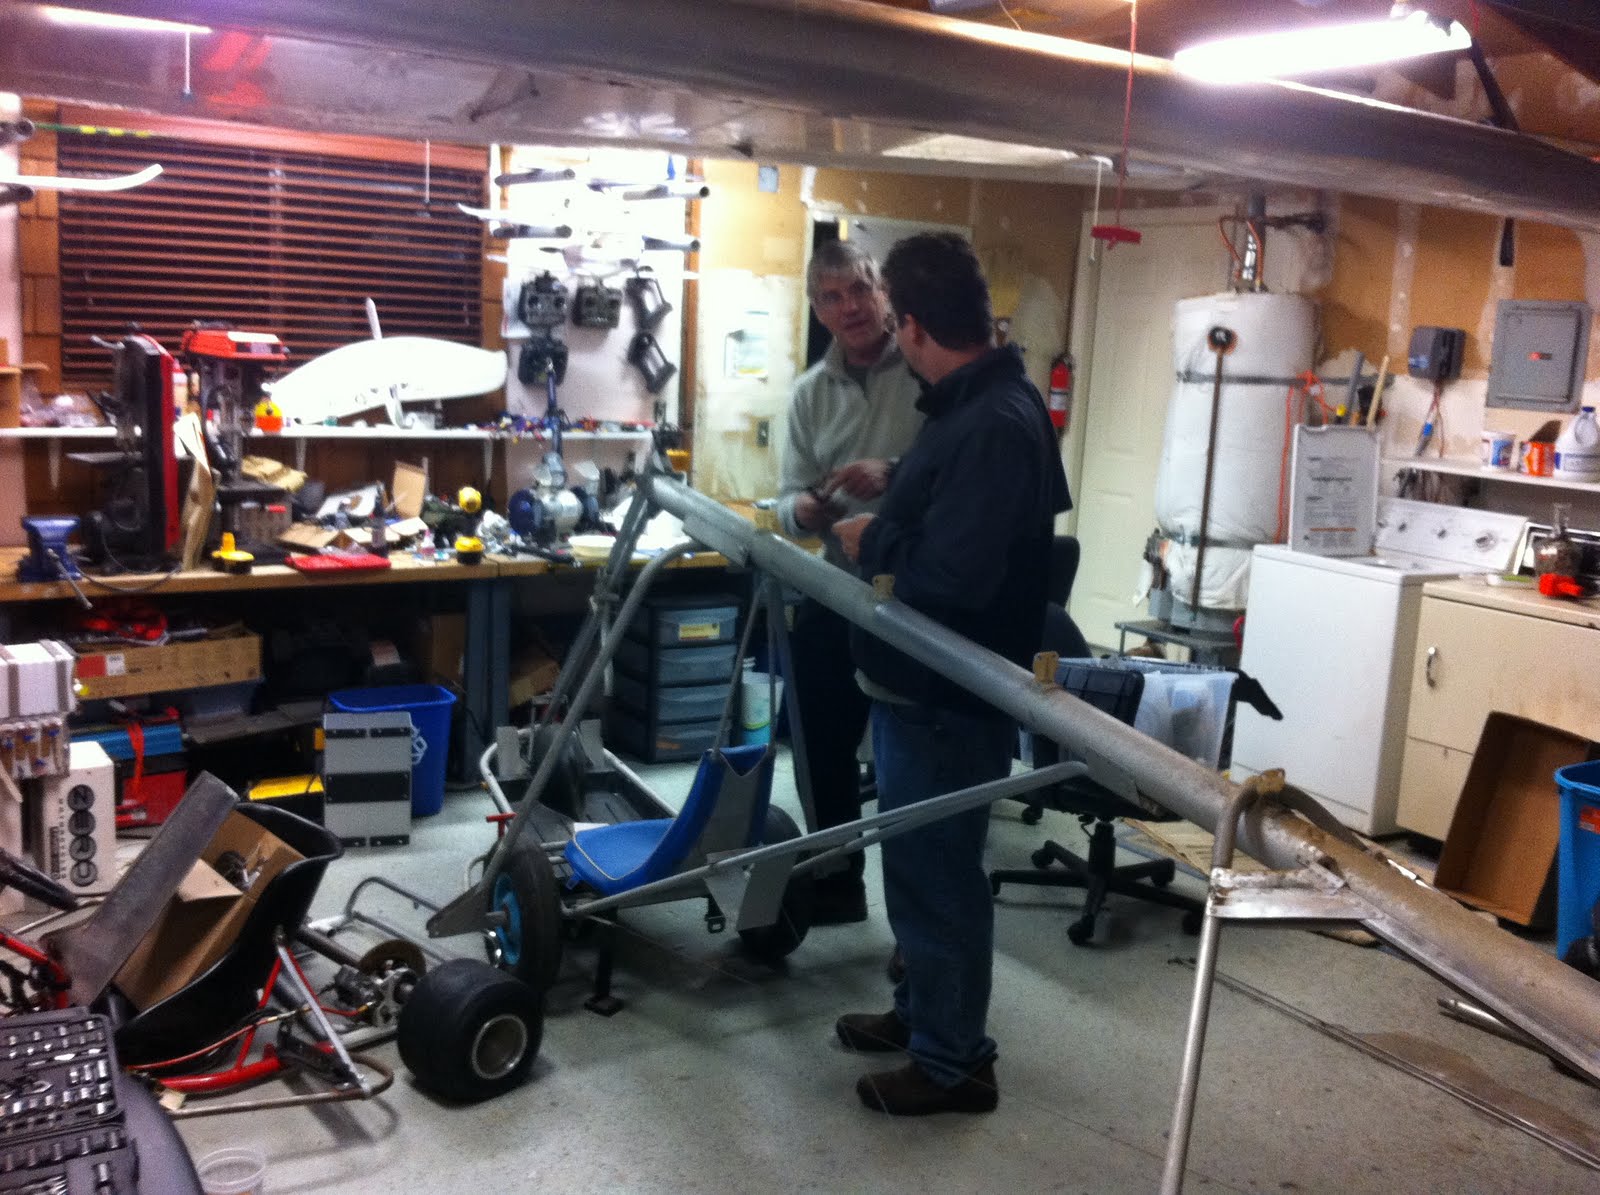
We flipped the fuselage over to remove the landing gear. We'll be replacing them with a tricycle configuration, complete with a steerable nose-wheel.


Gabe and Dale finish removing the seat cover.


We'll be taking the floor pan out as well, to allow for access to rudder pedals and to make a few other tweaks.

One more wing to tear down, and we should have a good idea of the steps and materials needed to complete the project. Some of the parts we'll need are going to come from Dale, others we'll fabricate or source on our own. I'll post a list of resources as we go.

Monday, January 23, 2012

You, yes you can develop, build, and fly electric aircraft!

I grew up around aviation, my father was a pilot and most of my life flying was an occasional hobby and full time source of fascination. In college I had the opportunity to acquire my private pilots license, which I nearly completed in 1997, before financial hardship grounded my ambitions. My last flight was 2 1/2 hours of dual instruction as an introduction to flying complex twins at night. That was in 2001.

Fast forward to about a month ago when my buddy Gabe from work approached me as a partner in crime on a electric ultralight project.

Gabe an I work in the EV industry, and are both long time flying geeks. What he presented me with is a chance not only to fly again, but to do so in a way that combines many of my interests and passions in a way I never thought possible.

We picked up our new airframe, (a Series 2 Ultraflight Lazair designed by Dale Kramer and built from 1979 until 1984) from an old friend of Gabe's. The plane has been stored in a barn for several years, and will need a pretty complete restoration.


More info on the Lazair :

http://en.wikipedia.org/wiki/Ultraflight_Lazair

http://www.lazair.com/

We loaded the plane on a trailer and moved it to Gabe's garage where the first stage of restoration will take place. I was pretty emotional picking up the project. Flying means a lot to me, and reminds me of my father. Of course we had to take a few pictures and try sitting in our fuselage.


Next we need to remove things we won't need for our electric aircraft. These 2 stroke Rotax motors will be on the auction block as soon as I have a chance to clean them up a bit.


You never know what you'll find. This mud wasp nest was under a piece of the ruddervator assembly.


Day one of the real restoration and yours truly is trying out various polishing methods for the aluminum structure of the plane. The whole surface has minor corrosion and oxidation that we need to remove, then we'll paint the frame to seal it. We're going to be storing the aircraft in a trailer near the coast, so leaving the aluminum bare is not an option. You can see the wings hanging from the garage ceiling behind me.


This is the end of day 1. We've removed all the bits we won't be needing including the gas motor throttle assembly, and the original gauge box, which we will be replacing. Also we pulled the old "tedlar" covering off the ruddervators, and prepped the surface for new covering.


This is going to be a long process, but seldom have I encountered something so worth doing. I should be updating this blog weekly with our progress. Stay tuned for more details about power train and battery choices, as well as handy tips on avoiding problems we discover along the way. It is my hope that this blog can inspire more would-be aviators to stop dreaming and start flying.